Всем привет!!!
В этом материале я покажу как установить 2FAuth в контейнер Docker на Synology, что бы можно было хранить коды OTP на своем сервере и не переживать за потерянный телефон.
2FAuth — это автономная веб-альтернатива генераторам одноразовых паролей (OTP) с открытым исходным кодом, предназначенная для облегчения аутентификации с использованием двухфакторной авторизации. Это решение обеспечивает чистый и удобный интерфейс, позволяет управлять учётными записями 2FA и организовывать их с помощью групп. 2FAuth также предлагает возможность сканирования и декодирования QR-кодов для добавления учётных записей и поддержку пользовательских форм для регистрации без QR-кода.

–
2FAuth может заменить такие приложения как Google Authenticator или Synology Signin и многие другие. Единственное не храните OTP код от сервера на этом же сервере, сами понимаете это чревато. Зато все остальные учетные записи от любых сервисов в интернете, пожалуйста, приветствуется.
У 2FAuth нет приложения, но из сайта 2FAuth можно спокойно делать веб приложение. Это и удобно и практически не занимает место на телефоне.
Всю установку я буду делать в DSM 7.2 через Container Manager и проекты. Поэтому предварительно проверьте, что такой пакет доступен для вашего устройства Synology. Вообще по аналогии можно будет установить и на TerraMaster, но обязательно с использование Nginx Proxy Manager.
Подготовка
Откройте File Station и в папке docker создайте папку 2fauth а в ней еще одну 2fauth как показано на картинке ниже.

Затем откройте свойства второй папки 2fauth и перейдите в разрешения. Тут в дополнительных сделайте наследуемые разрешения явными
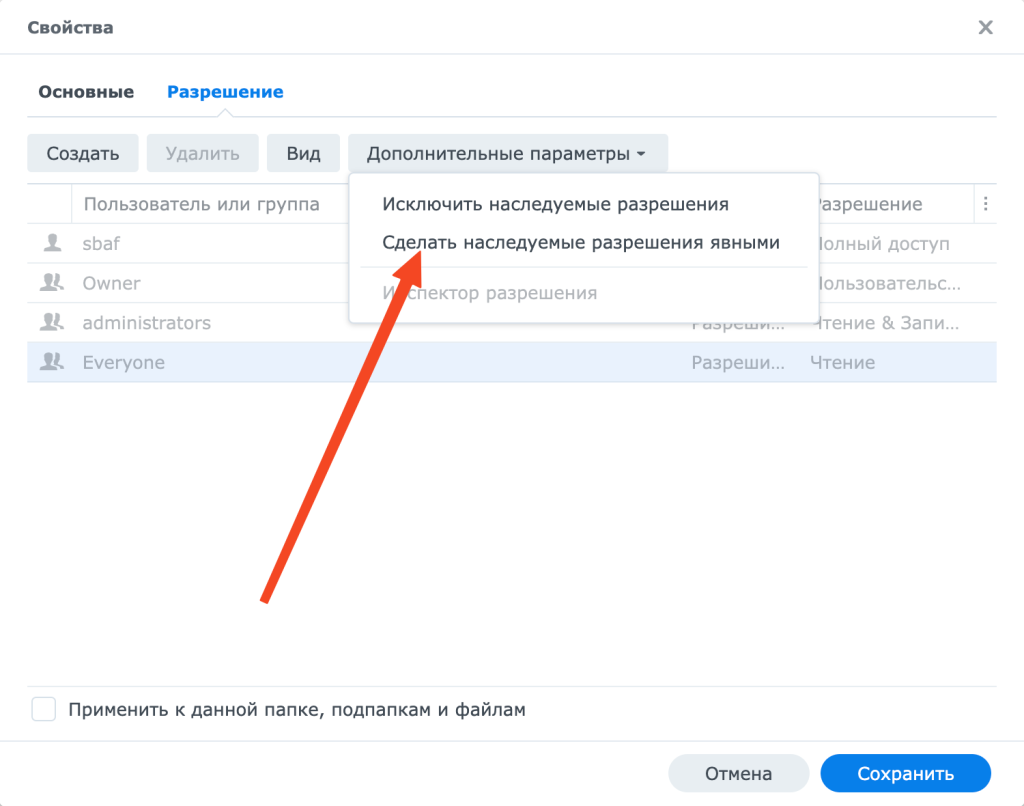
Дайте группе Everyone доступ на чтение и запись, а так же установите флажок применять ко всем подпапкам и и нажмите сохранить.

Файл docker-compose для 2FAuth
Теперь нужно скорректировать файл docker compose для 2FAuth, пример ниже.
В нем нужно заменить следующие параметры
- APP_URL=https://2fauth.XXX.synology.me – замените на свое доменное имя, по которому вы будите подключаться к 2FAuth. Я использовал имя от DDNS Synology
- MAIL – эту секцию нужно скорректировать под вашу учетную запись почтового сервера. Подойдут любые Яндекс или mail.ru. Только не забывайте в этих сервисах создавать пароли для приложений, т.к. от учетных записей работать не будет.
- SITE_OWNER=user@domen.ru – укажите вашу реальную почту
- Если порт 8000 уже занят у вас то заменить на любой другой, например 9999:8000 (порт после двоеточия менять нельзя)
version: "3"
services:
  2fauth:
    image: 2fauth/2fauth
    container_name: 2fauth
    volumes:
      - ./2fauth:/2fauth
    ports:
      - 8000:8000/tcp
    restart: unless-stopped
    environment:
      # You can change the name of the app
      - APP_NAME=2FAuth
      # You can leave this on "local". If you change it to production most console commands will ask for extra confirmation.
      # Never set it to "testing".
      - APP_ENV=local
      # Set to true if you want to see debug information in error screens.
      - APP_DEBUG=false
      # This should be your email address
      - SITE_OWNER=user@domen.ru
      # The encryption key for  our database and sessions. Keep this very secure.
      # If you generate a new one all existing data must be considered LOST.
      # Change it to a string of exactly 32 chars or use command `php artisan key:generate` to generate it
      - APP_KEY=SomeRandomStringOf32CharsExactly
      # This variable must match your installation's external address.
      # Webauthn won't work otherwise.
      - APP_URL=https://2fauth.XXX.synology.me
      # If you want to serve js assets from a CDN (like https://cdn.example.com),
      # uncomment the following line and set this var with the CDN url.
      # Otherwise, let this line commented.
      # - ASSET_URL=http://localhost
      #
      # Turn this to true if you want your app to react like a demo.
      # The Demo mode reset the app content every hours and set a generic demo user.
      - IS_DEMO_APP=false
      # The log channel defines where your log entries go to.
      # 'daily' is the default logging mode giving you 7 daily rotated log files in /storage/logs/.
      # Also available are 'errorlog', 'syslog', 'stderr', 'papertrail', 'slack' and a 'stack' channel
      # to combine multiple channels into a single one.
      - LOG_CHANNEL=daily
      # Log level. You can set this from least severe to most severe:
      # debug, info, notice, warning, error, critical, alert, emergency
      # If you set it to debug your logs will grow large, and fast. If you set it to emergency probably
      # nothing will get logged, ever.
      - LOG_LEVEL=notice
      # Database config (can only be sqlite)
      - DB_DATABASE="/srv/database/database.sqlite"
      # If you're looking for performance improvements, you could install memcached.
      - CACHE_DRIVER=file
      - SESSION_DRIVER=file
      # Mail settings
      # Refer your email provider documentation to configure your mail settings
      # Set a value for every available setting to avoid issue
      - MAIL_MAILER=smtp
      - MAIL_HOST=smtp.domen.ru
      - MAIL_PORT=587
      - MAIL_USERNAME=USERNAME
      - MAIL_PASSWORD=PASSWORD
      - MAIL_ENCRYPTION=tls
      - MAIL_FROM_NAME=2fauth
      - MAIL_FROM_ADDRESS=username@yandex.ru
      # SSL peer verification.
      # Set this to false to disable the SSL certificate validation.
      # WARNING
      # Disabling peer verification can result in a major security flaw.
      # Change it only if you know what you're doing.
      - MAIL_VERIFY_SSL_PEER=true
      # API settings
      # The maximum number of API calls in a minute from the same IP.
      # Once reached, all requests from this IP will be rejected until the minute has elapsed.
      # Set to null to disable the API throttling.
      - THROTTLE_API=60
      # Authentication settings
      # The number of times per minute a user can fail to log in before being locked out.
      # Once reached, all login attempts will be rejected until the minute has elapsed.
      # This setting applies to both email/password and webauthn login attemps.
      - LOGIN_THROTTLE=5
      # The default authentication guard
      # Supported:
      #   'web-guard' : The Laravel built-in auth system (default if nulled)
      #   'reverse-proxy-guard' : When 2FAuth is deployed behind a reverse-proxy that handle authentication
      # WARNING
      # When using 'reverse-proxy-guard' 2FAuth only look for the dedicated headers and skip all other built-in
      # authentication checks. That means your proxy is fully responsible of the authentication process, 2FAuth will
      # trust him as long as headers are presents.
      - AUTHENTICATION_GUARD=web-guard
      # Name of the HTTP headers sent by the reverse proxy that identifies the authenticated user at proxy level.
      # Check your proxy documentation to find out how these headers are named (i.e 'REMOTE_USER', 'REMOTE_EMAIL', etc...)
      # (only relevant when AUTHENTICATION_GUARD is set to 'reverse-proxy-guard')
      - AUTH_PROXY_HEADER_FOR_USER=null
      - AUTH_PROXY_HEADER_FOR_EMAIL=null
      # Custom logout URL to open when using an auth proxy.
      - PROXY_LOGOUT_URL=null
      # WebAuthn settings
      # Relying Party name, aka the name of the application. If blank, defaults to APP_NAME. Do not set to null.
      - WEBAUTHN_NAME=2FAuth
      # Relying Party ID, should equal the site domain (i.e 2fauth.example.com).
      # If null, the device will fill it internally (recommended)
      # See https://webauthn-doc.spomky-labs.com/prerequisites/the-relying-party#how-to-determine-the-relying-party-id
      - WEBAUTHN_ID=null
      # Use this setting to control how user verification behave during the
      # WebAuthn authentication flow.
      #
      # Most authenticators and smartphones will ask the user to actively verify
      # themselves for log in. For example, through a touch plus pin code,
      # password entry, or biometric recognition (e.g., presenting a fingerprint).
      # The intent is to distinguish one user from any other.
      #
      # Supported:
      #   'required': Will ALWAYS ask for user verification
      #   'preferred' (default) : Will ask for user verification IF POSSIBLE
      #   'discouraged' : Will NOT ask for user verification (for example, to minimize disruption to the user interaction flow)
      - WEBAUTHN_USER_VERIFICATION=preferred
      #### SSO settings (for Socialite) ####
      # Uncomment and complete lines for the OAuth providers you want to enable.
      # - OPENID_AUTHORIZE_URL=
      # - OPENID_TOKEN_URL=
      # - OPENID_USERINFO_URL=
      # - OPENID_CLIENT_ID=
      # - OPENID_CLIENT_SECRET=
      # - GITHUB_CLIENT_ID=
      # - GITHUB_CLIENT_SECRET=
      # Use this setting to declare trusted proxied.
      # Supported:
      #   '*': to trust any proxy
      #   A comma separated IP list: The list of proxies IP to trust
      - TRUSTED_PROXIES=*
      # Proxy for outgoing requests like new releases detection or logo fetching.
      # You can provide a proxy URL that contains a scheme, username, and password.
      # For example, "http://username:password@192.168.16.1:10".
      - PROXY_FOR_OUTGOING_REQUESTS=null
      # Leave the following configuration vars as is.
      # Unless you like to tinker and know what you're doing.
      - BROADCAST_DRIVER=log
      - QUEUE_DRIVER=sync
      - SESSION_LIFETIME=120
      - REDIS_HOST=127.0.0.1
      - REDIS_PASSWORD=null
      - REDIS_PORT=6379
      - PUSHER_APP_ID=
      - PUSHER_APP_KEY=
      - PUSHER_APP_SECRET=
      - PUSHER_APP_CLUSTER=mt1
      - VITE_PUSHER_APP_KEY=
      - VITE_PUSHER_APP_CLUSTER=
      - MIX_ENV=local
Установка 2FAuth
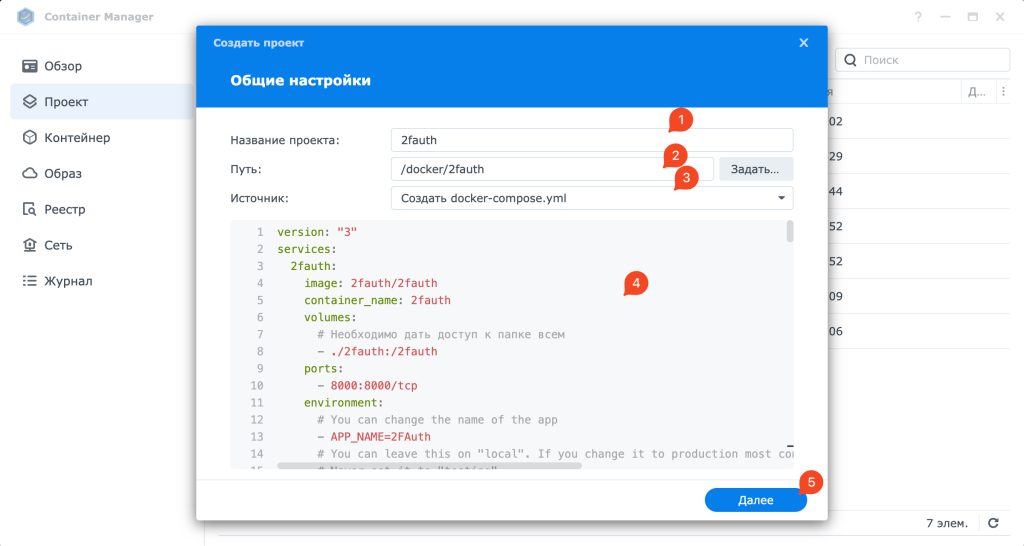
Откройте Container Manager и на вкладке проекты нажмите создать новый. В открывшемся окне придумайте название, укажите путь и вставьте текст docker compose, который вы подготовили для этого проекта 2FAuth. Затем везде жмите далее.
Код 0 означает, что проект создан без ошибок

Настройка обратного прокси для 2FAuth
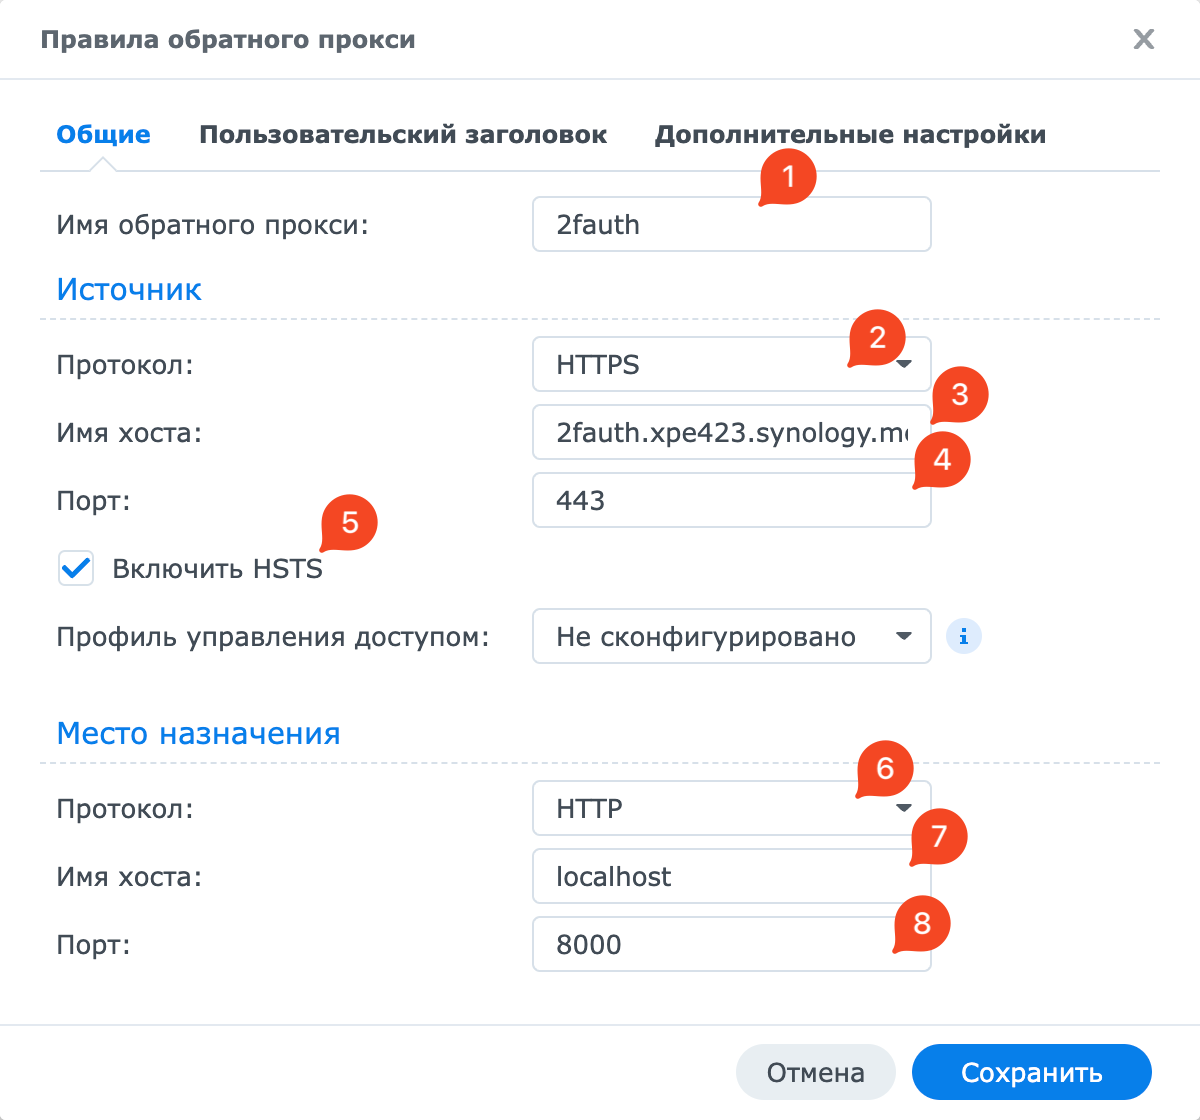
Для настройки доступа к 2FAuth через защищенное SSL соединение откройте панель управления в DSM, портал для входа, дополнительно и обратный прокси. Создайте новое правило. Придумайте название правила. В источнике укажите https, имя домена, например 2FAuth.XXX.synology.me и 443 порт. В месте назначения укажите http, localhost и порт 8000.

Первоначальная настройка 2FAuth
Откройте в браузер доменное имя, которые вы указывали в обратном прокси и docker compose. В моем случаи это https://2fauth.xpe423.synology.me. В этом окне нажмите кнопку регистрации новой учетной записи.

Придумайте логин, введите свою реальную почту и сложный пароль

И вот вы первый раз вошли в веб приложение 2FAuth под учетной записью администратор.
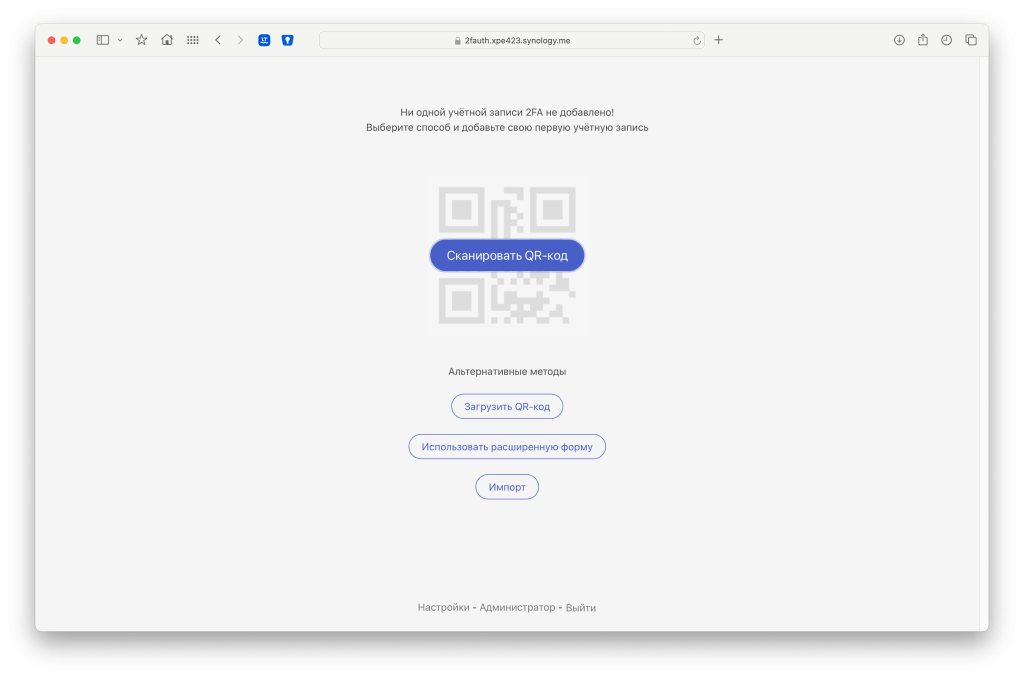
Теперь можно добавлять OTP коды и пользоваться веб приложение 2FAuth. Процесс миграции из различных приложений описан у разработчиков в документации.
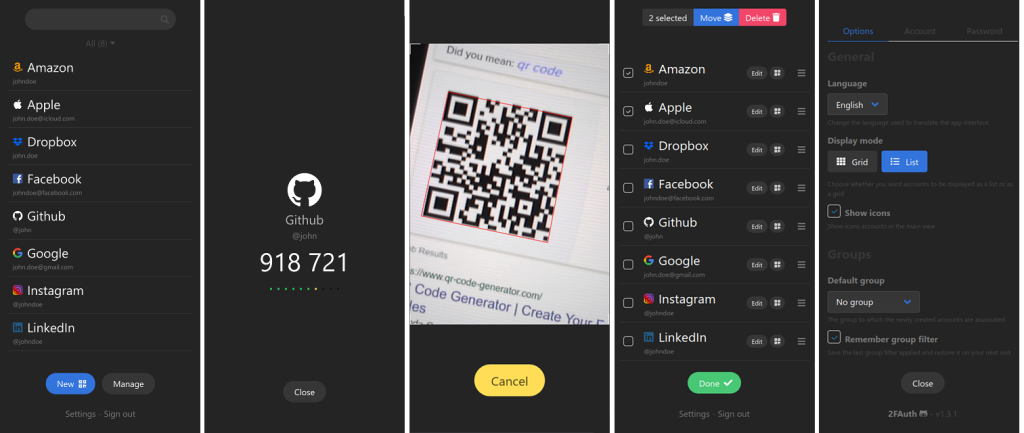
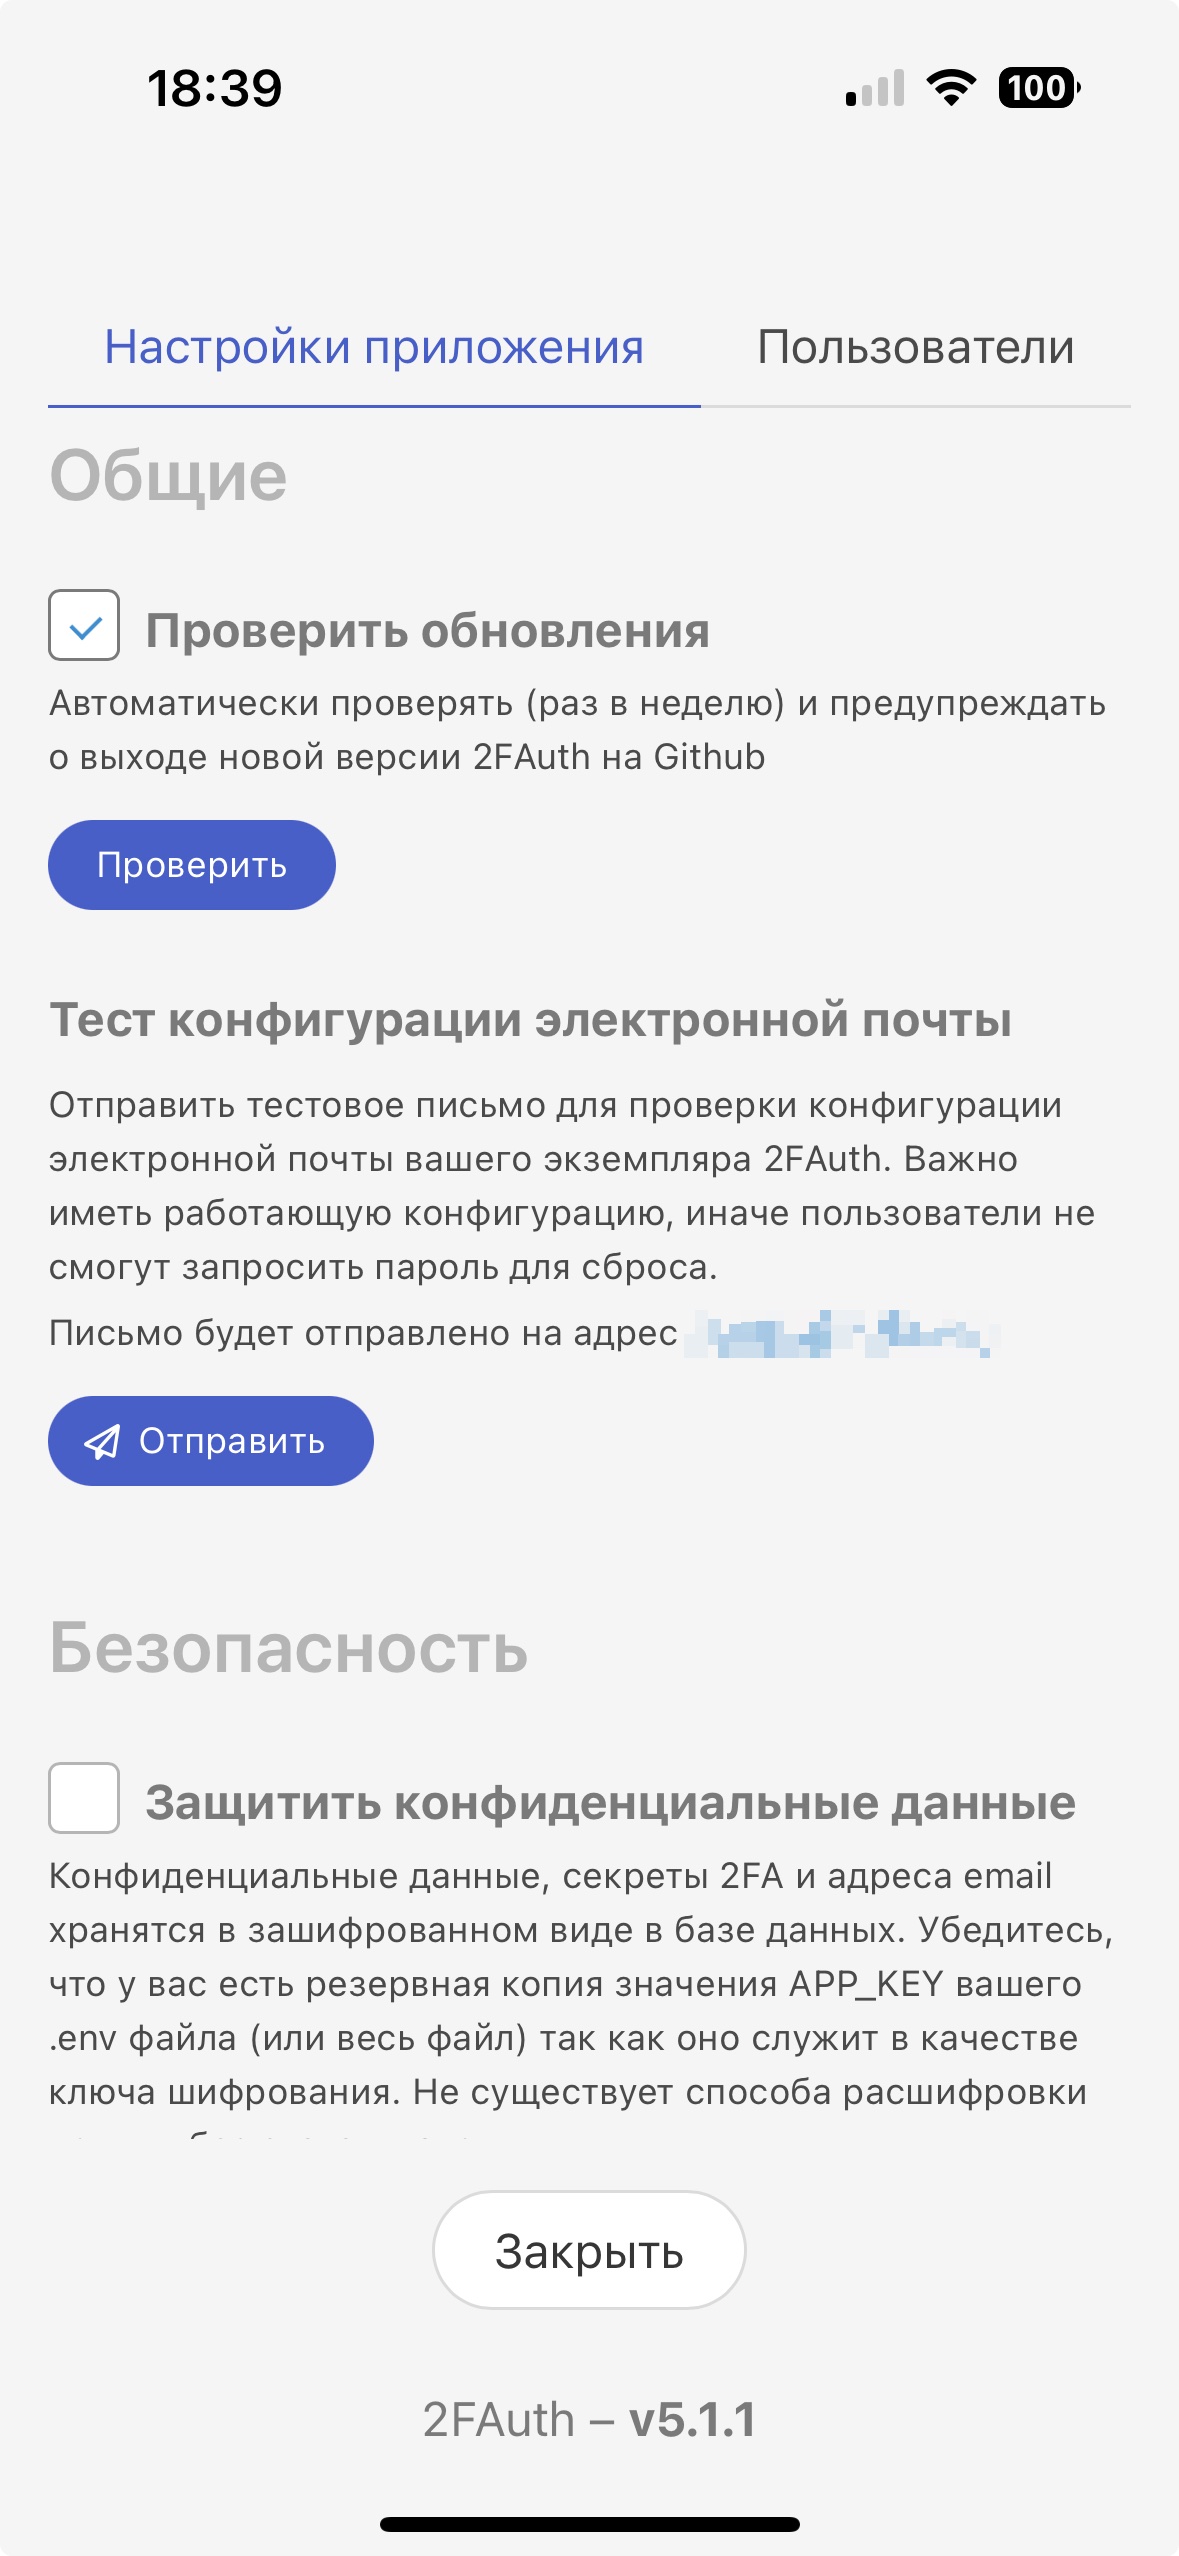
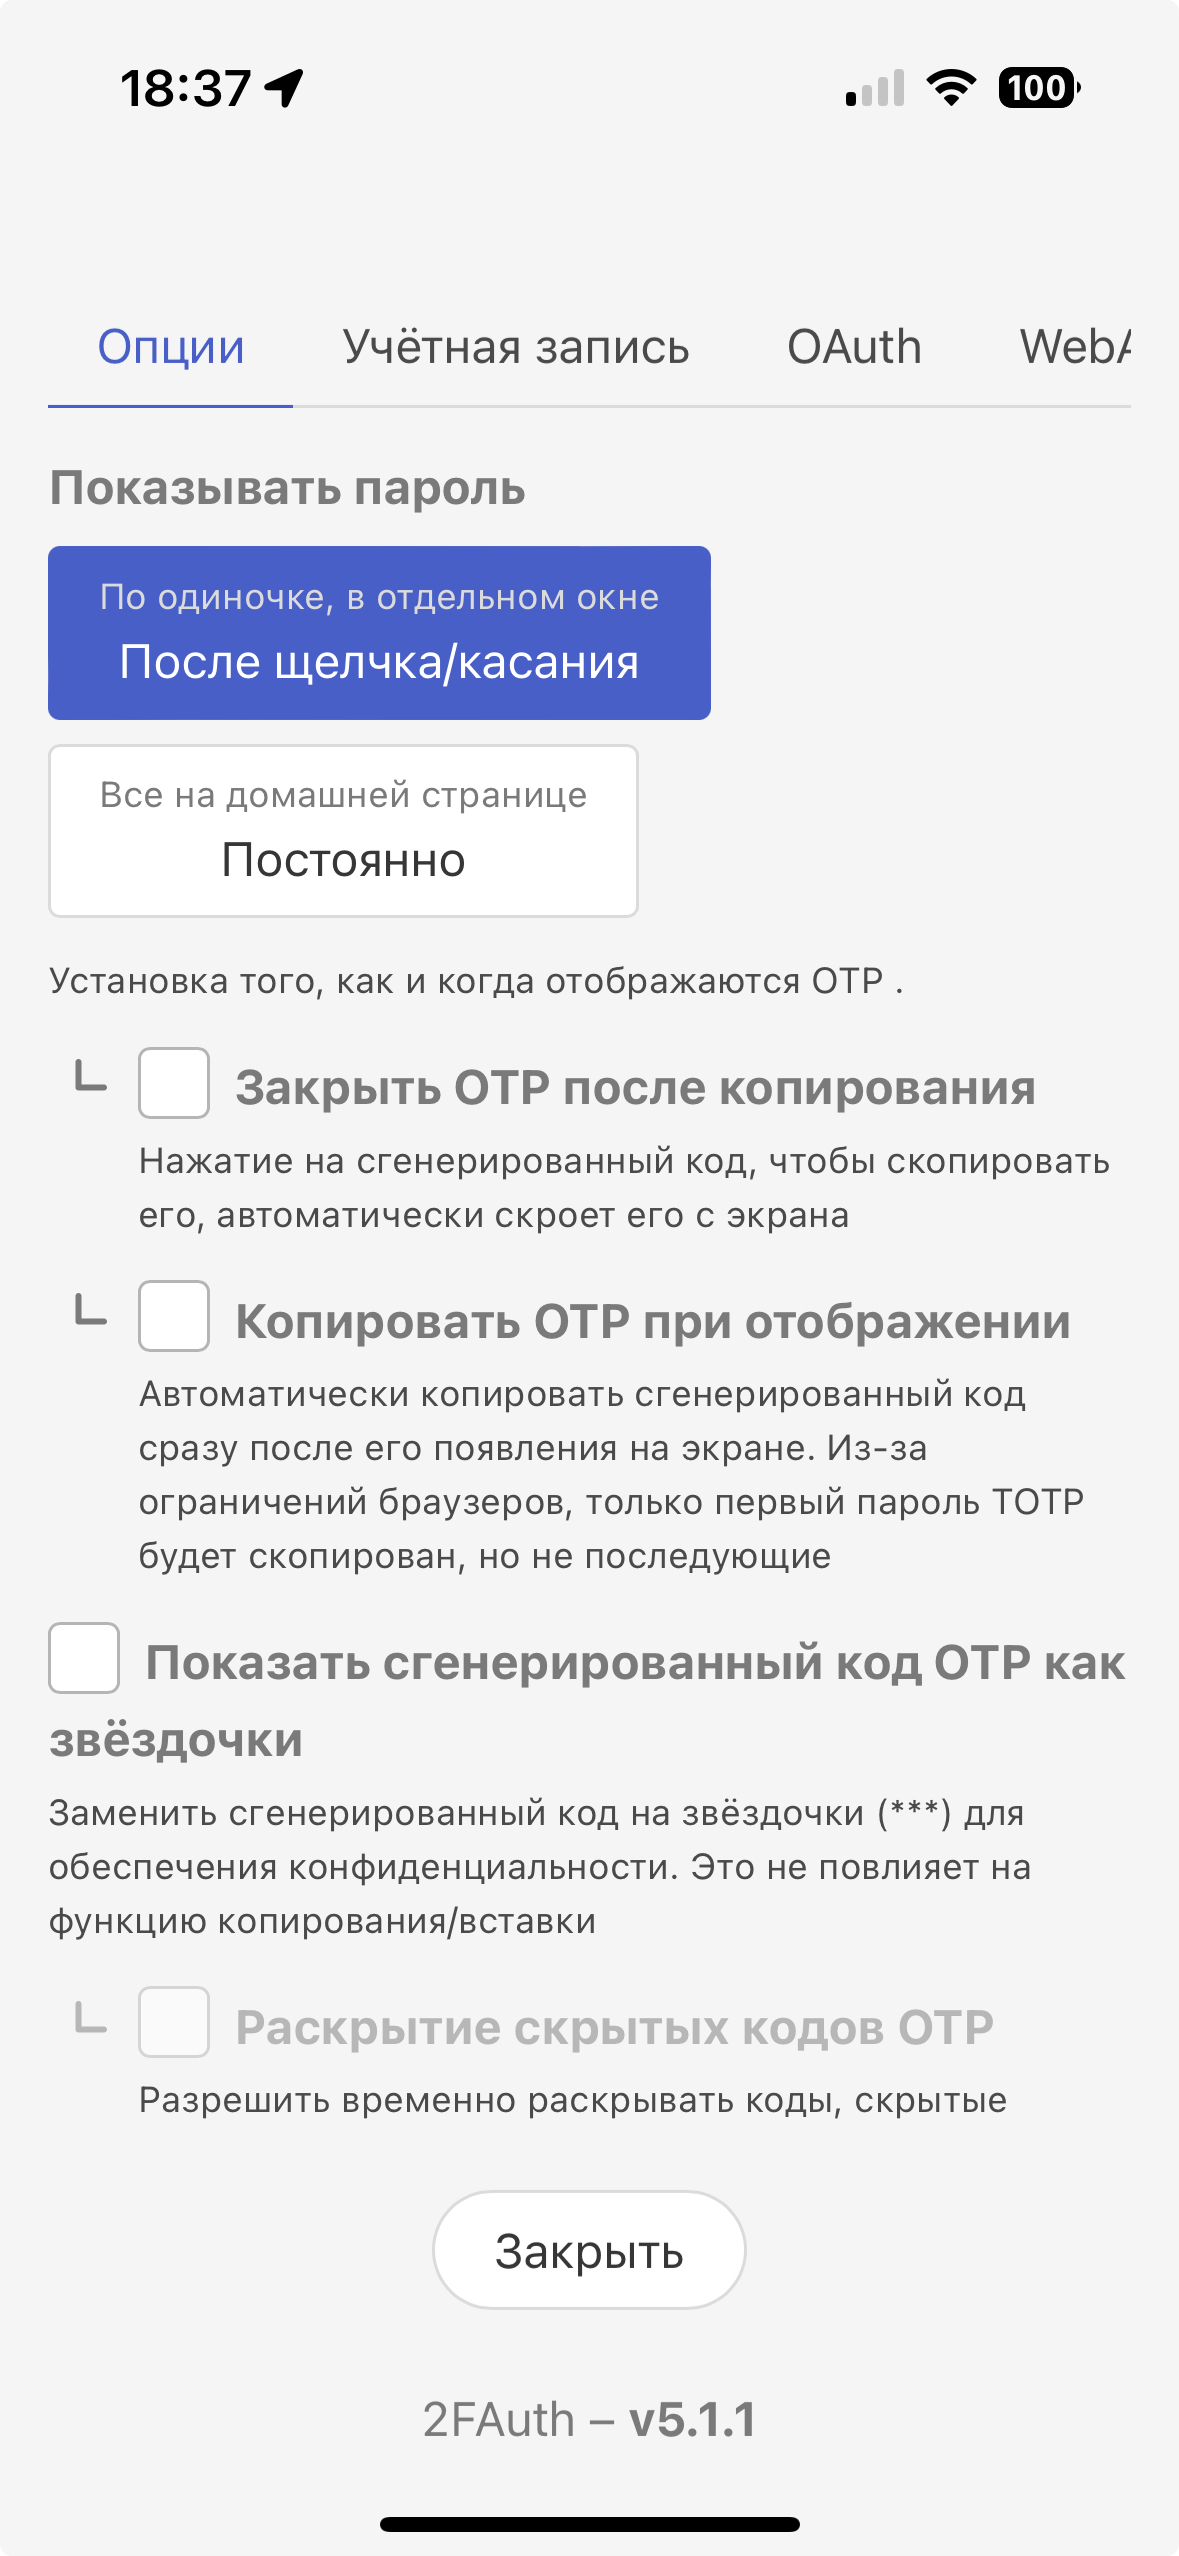
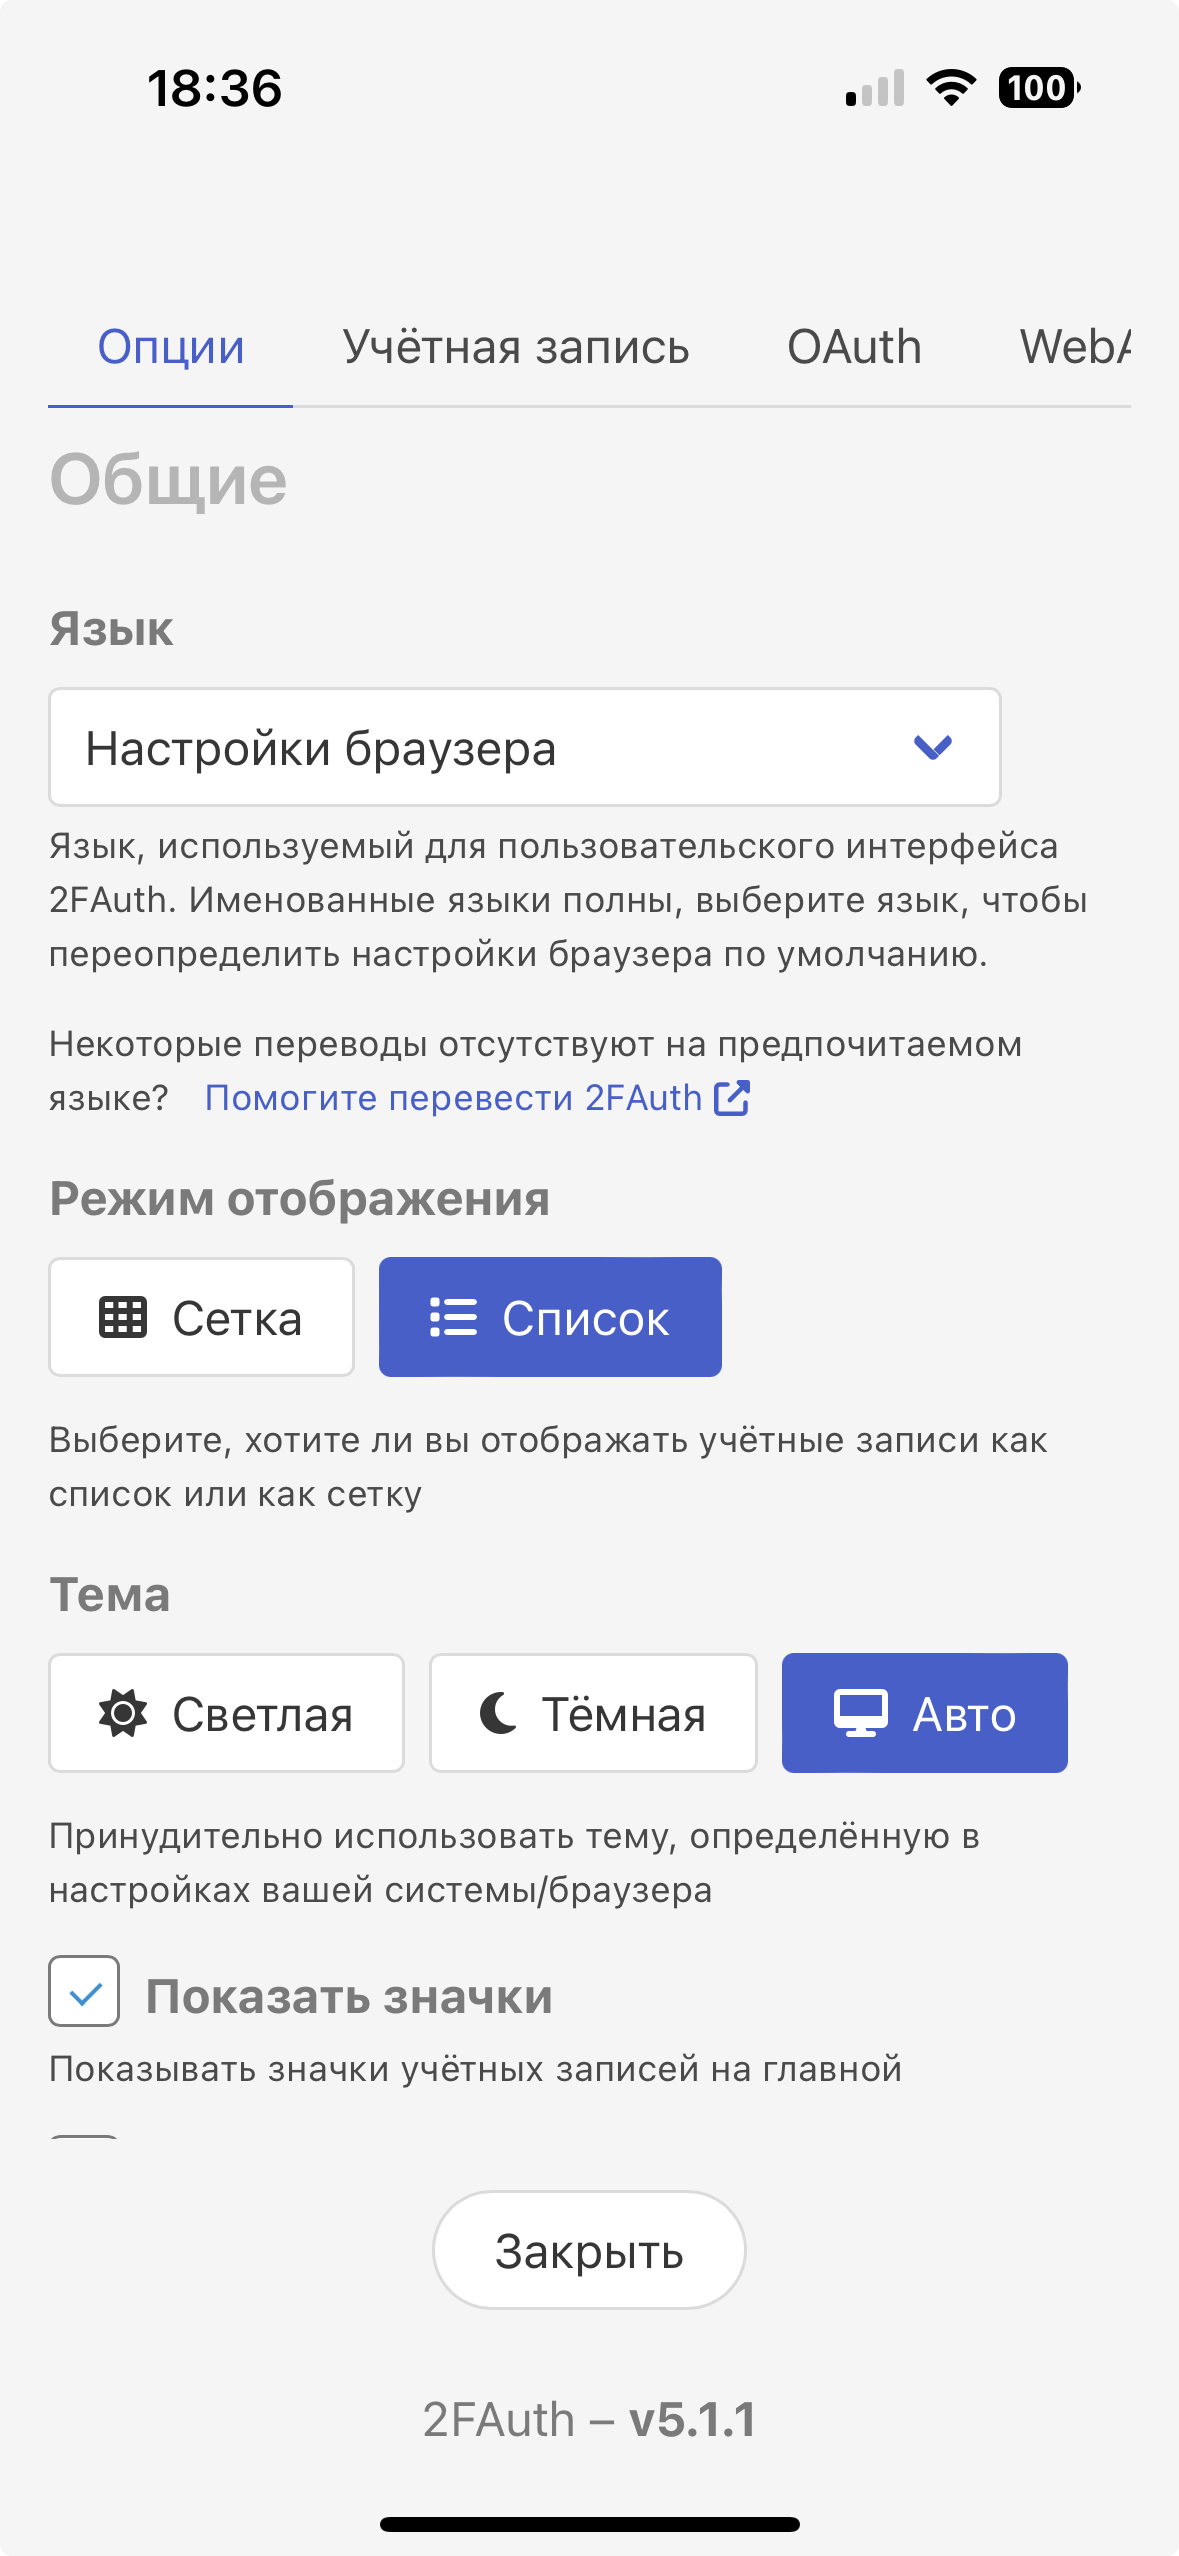
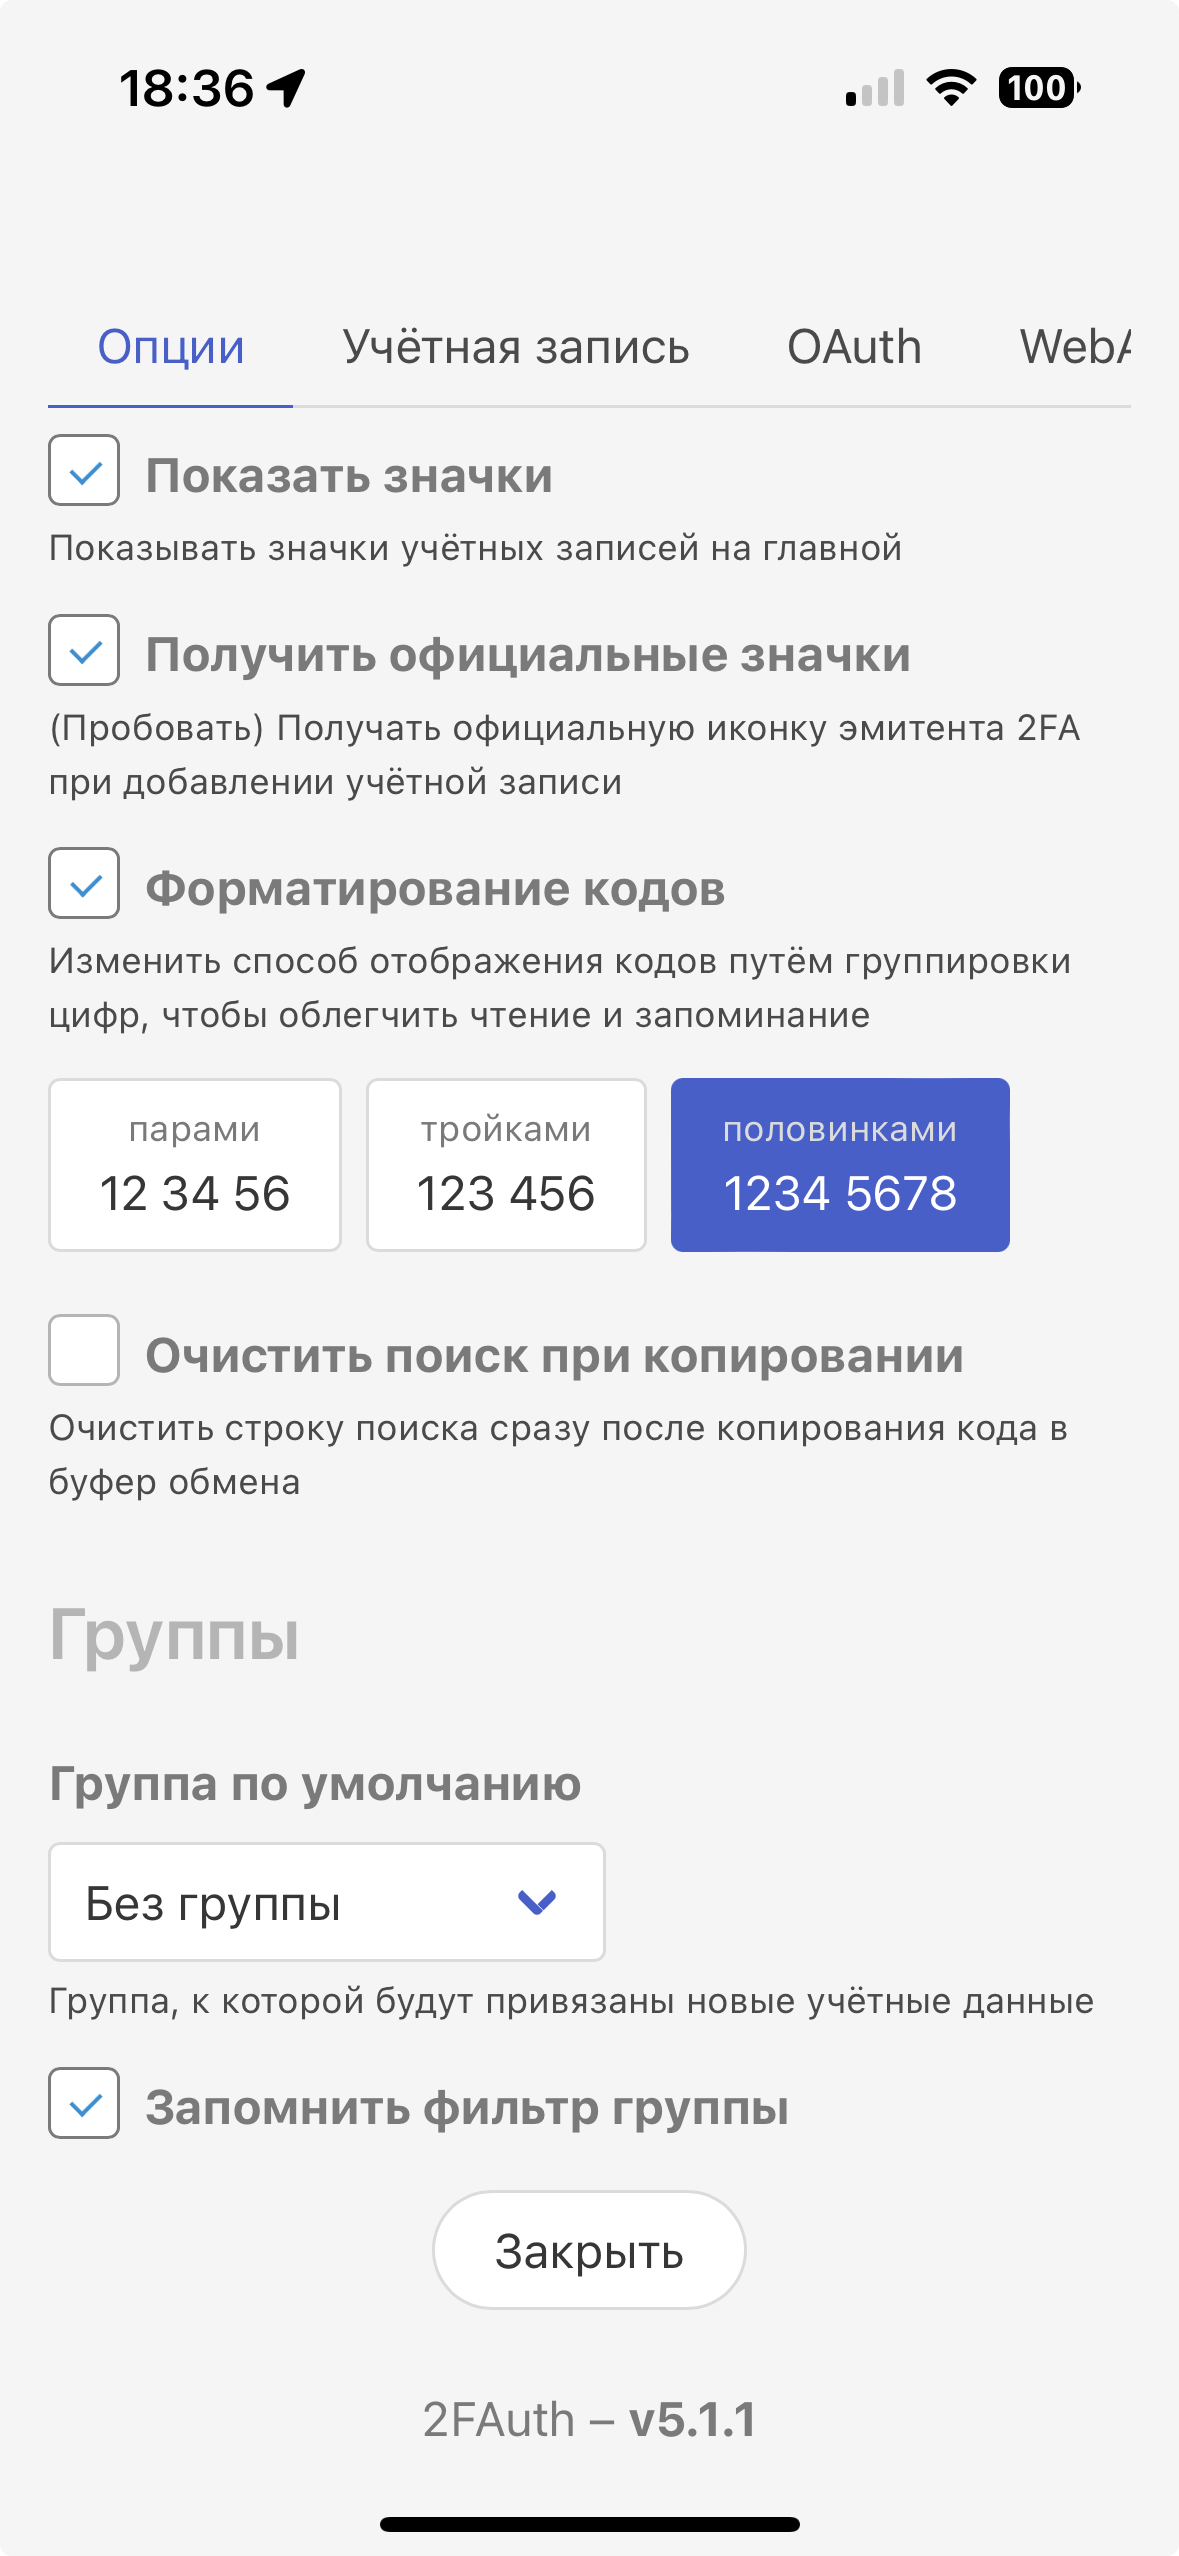
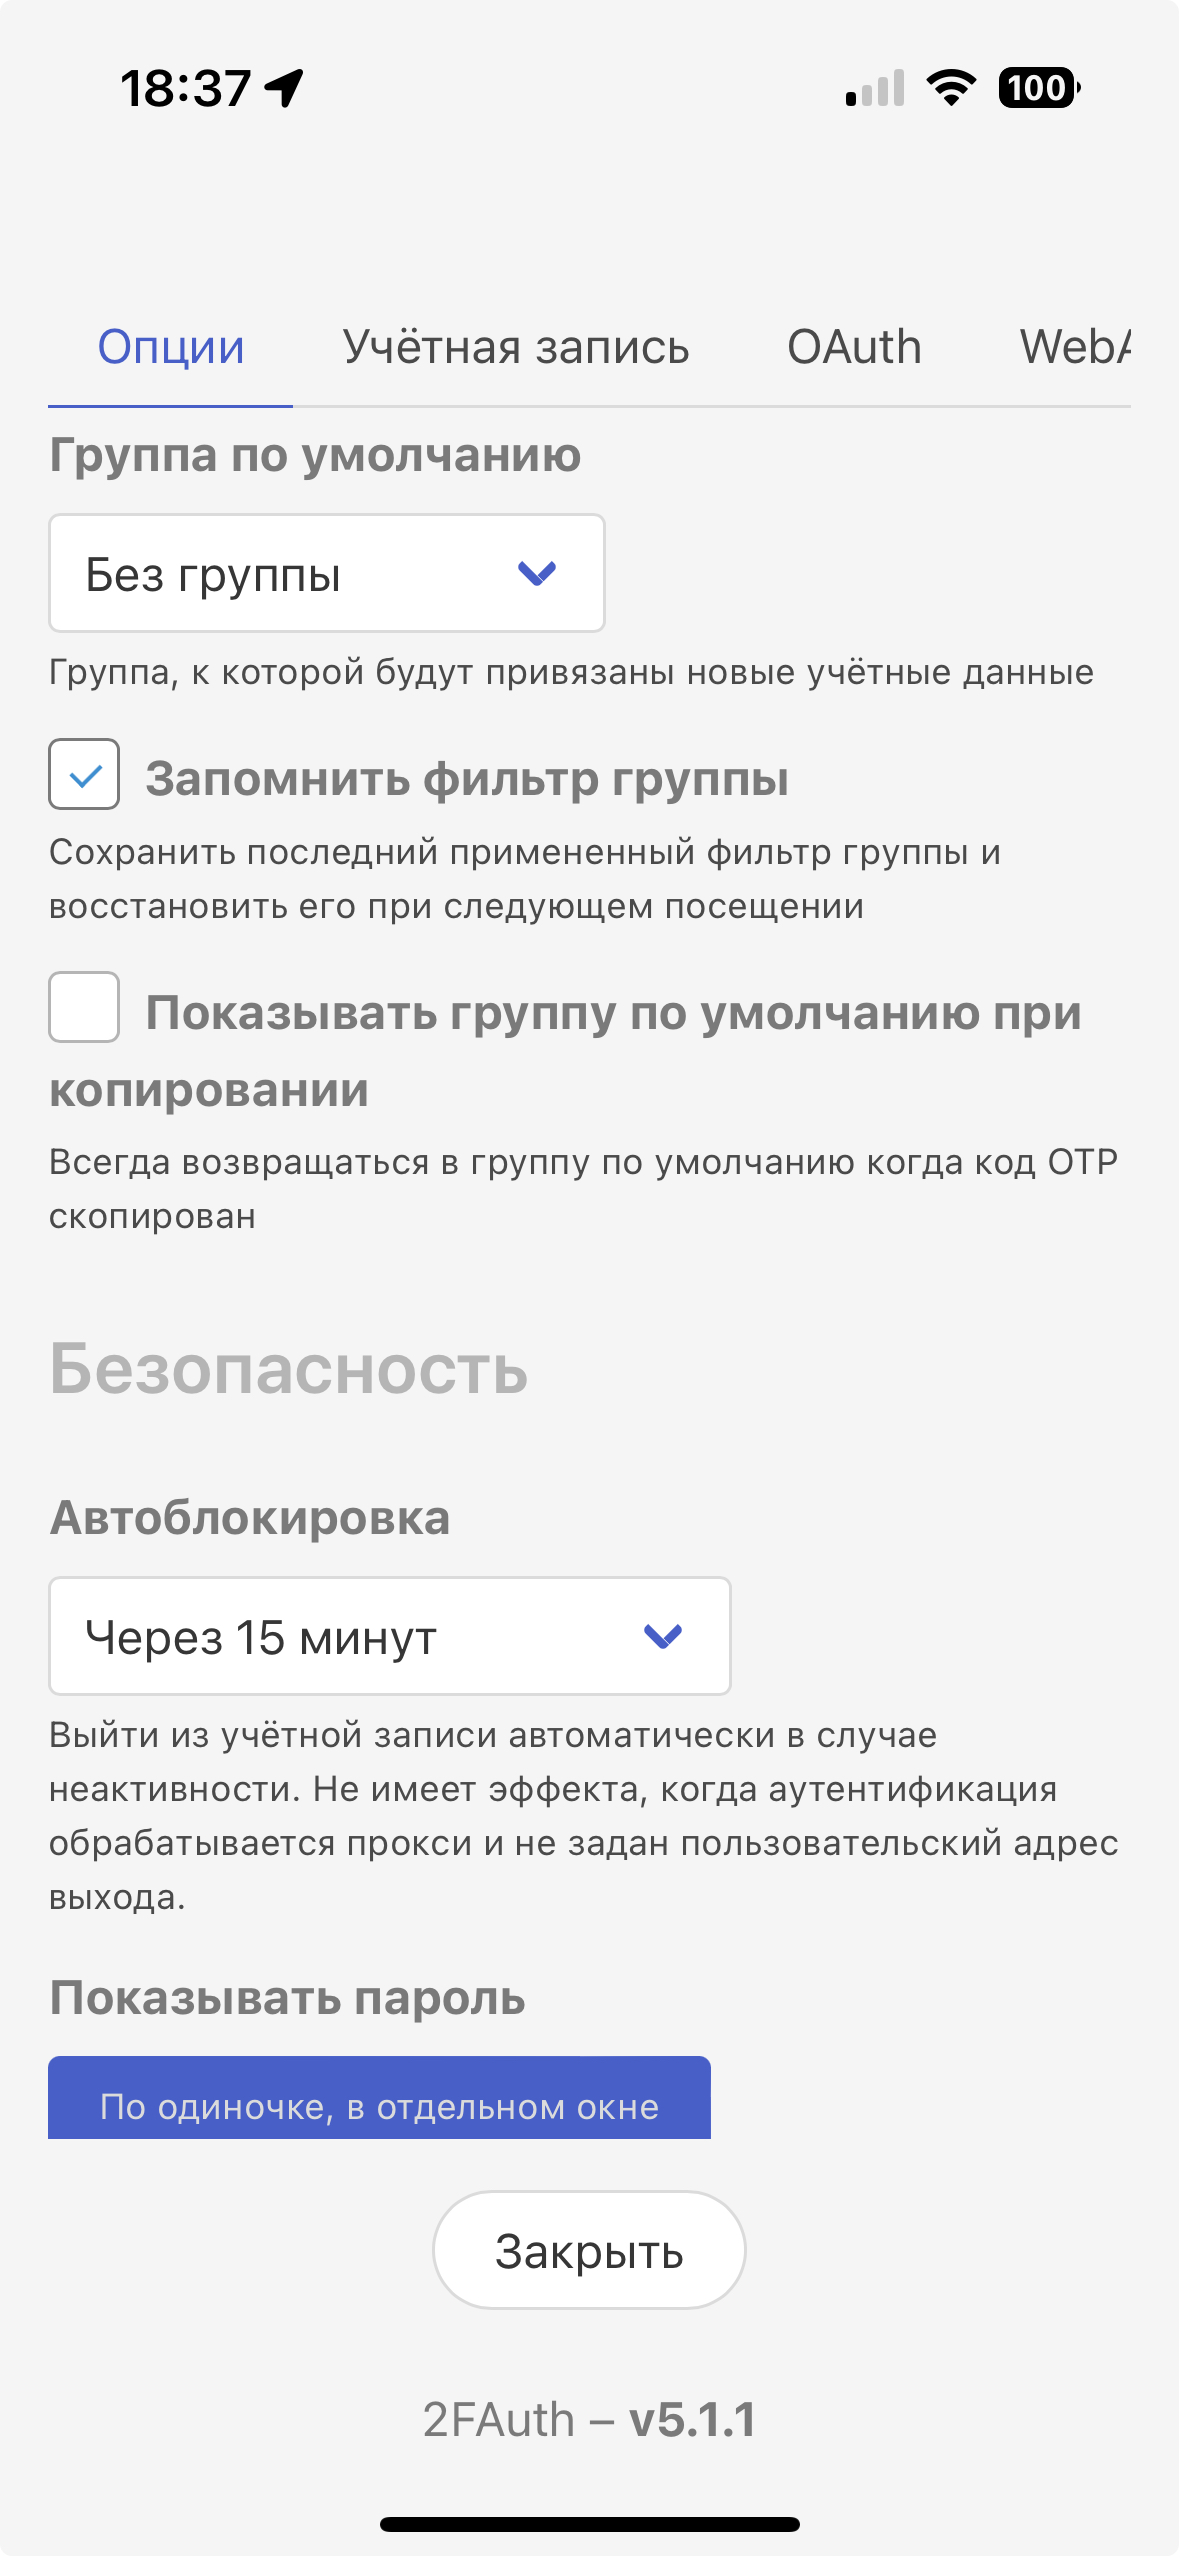
А теперь скриншоты с телефона веб приложения 2FAuth как и обещал. Можно создать из сайта 2FAuth веб приложение, как это сделал я.


Теперь вы знаете как установить 2FAuth на Synology в контейнер docker и использовать защищенное ssl соединение.

